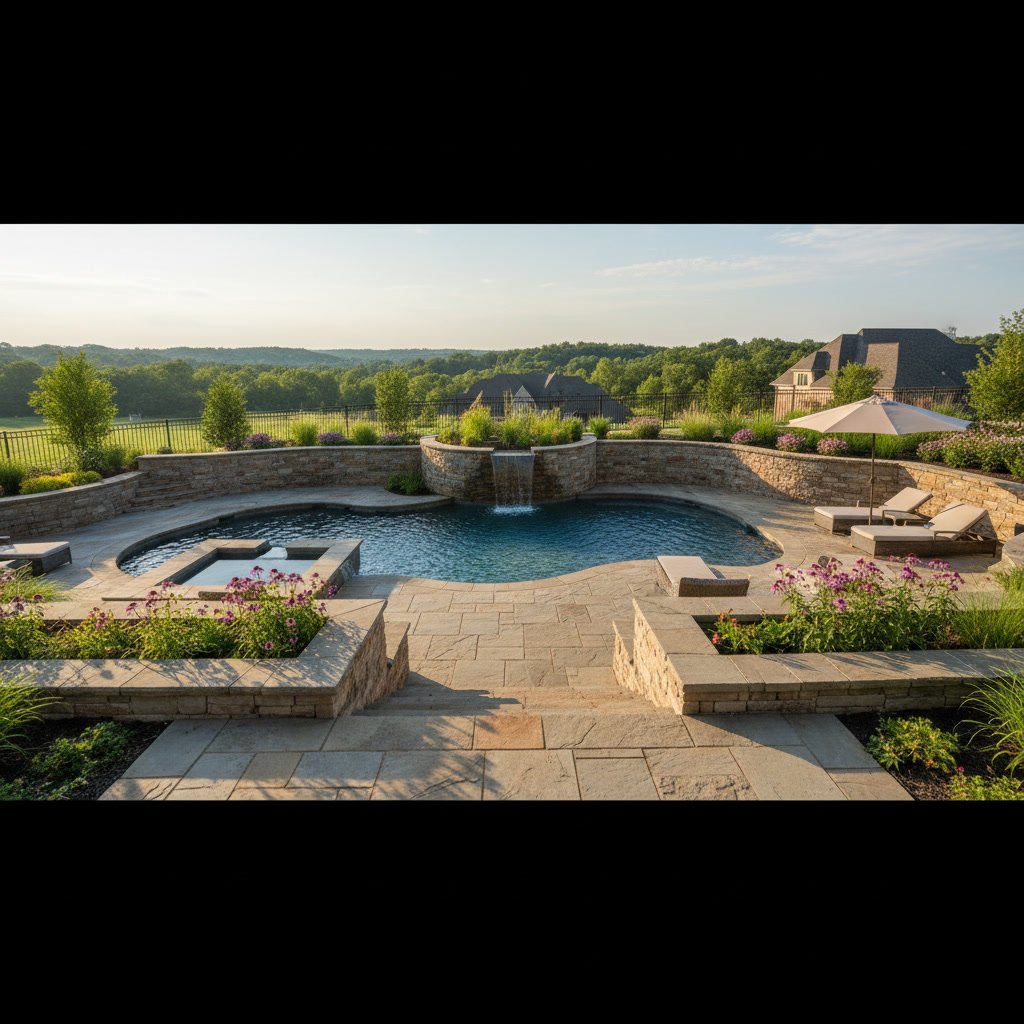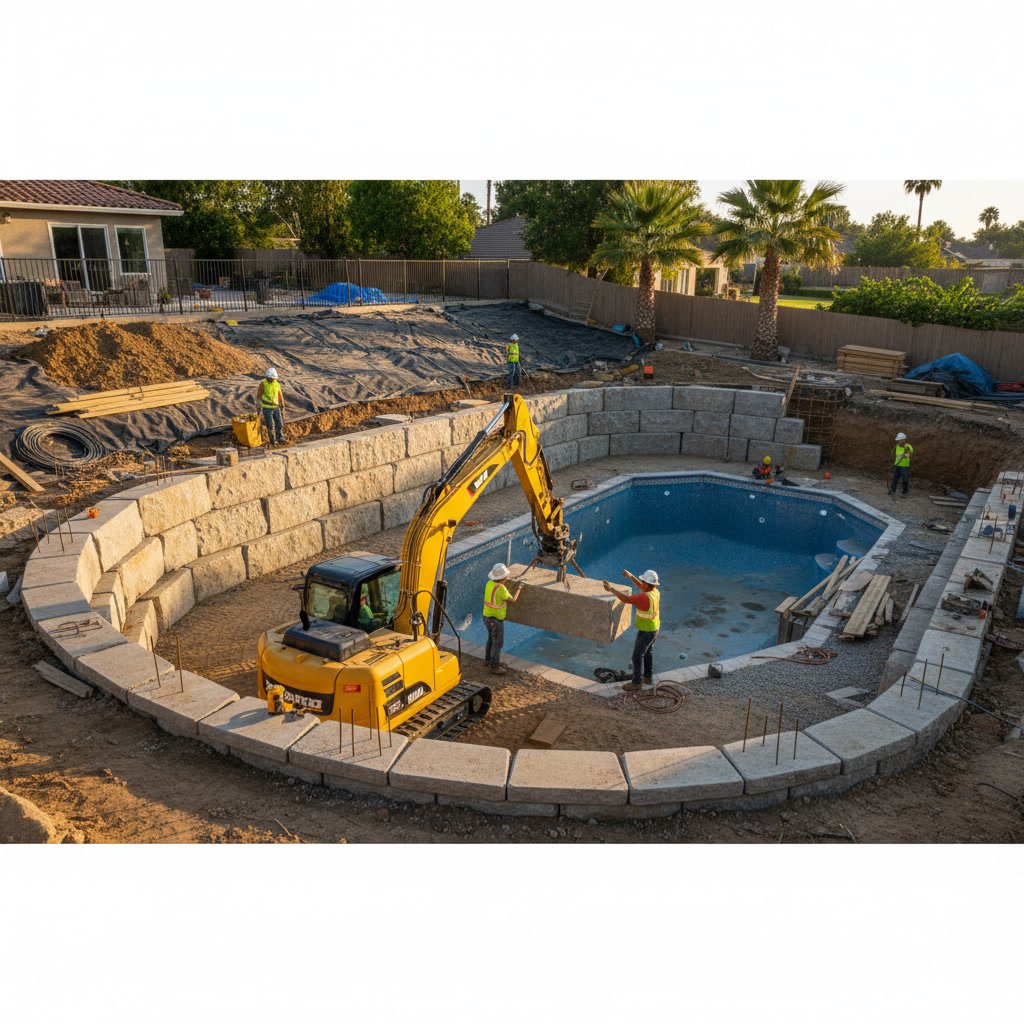
The retaining wall construction process for a pool project begins with a detailed site evaluation, followed by excavation, foundation preparation, wall assembly, and drainage installation. Once structural components are in place, the wall is backfilled and finished to match your landscape design. Understanding each phase helps you prepare for the timeline, manage expectations, and ensure the finished structure safely supports your new pool for decades.
Why Pool Projects Often Require Structural Retaining Walls
When your property has a slope, building a pool becomes a more complex undertaking. The natural grade needs modification to create a level area for the pool shell and surrounding hardscape. Without proper support, soil will shift, settle, or erode over time. A well-engineered retaining wall holds back thousands of pounds of earth, creating a stable platform for your pool and protecting your investment from costly damage.
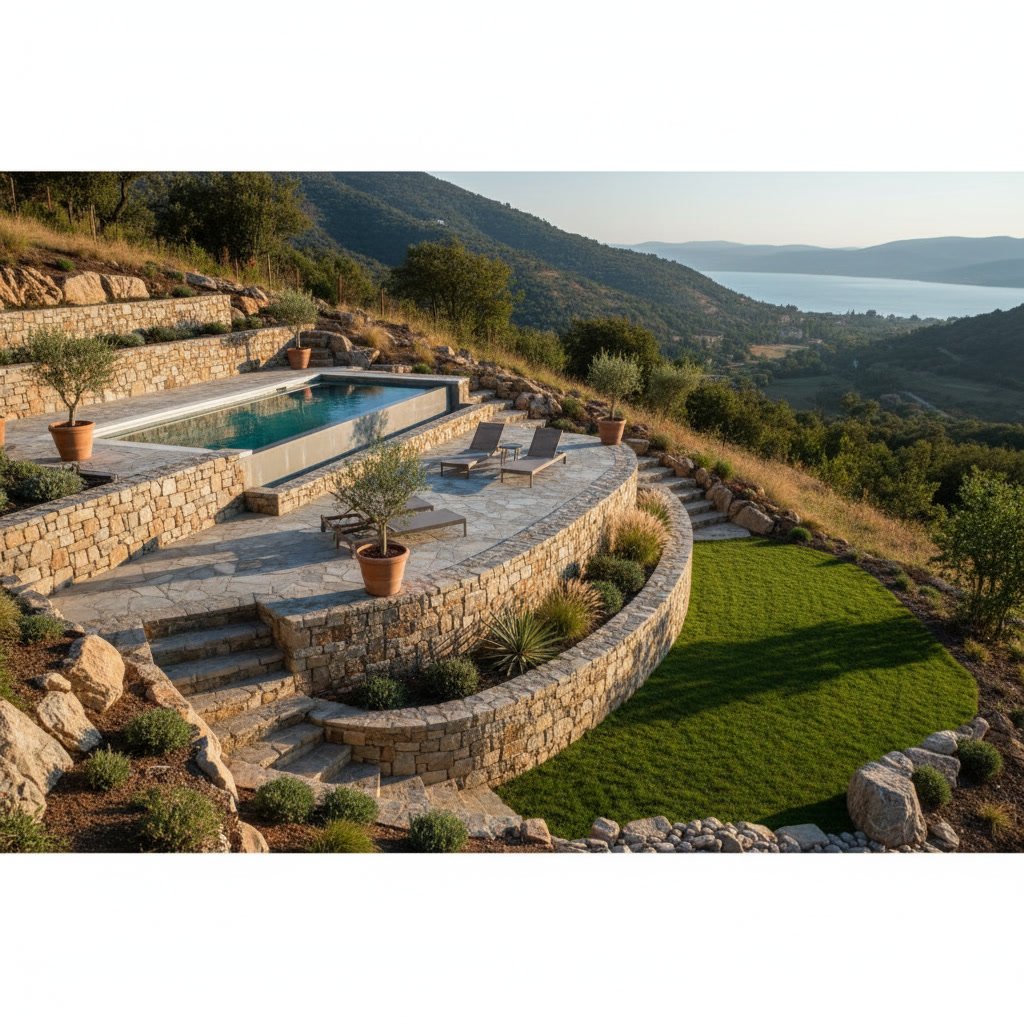
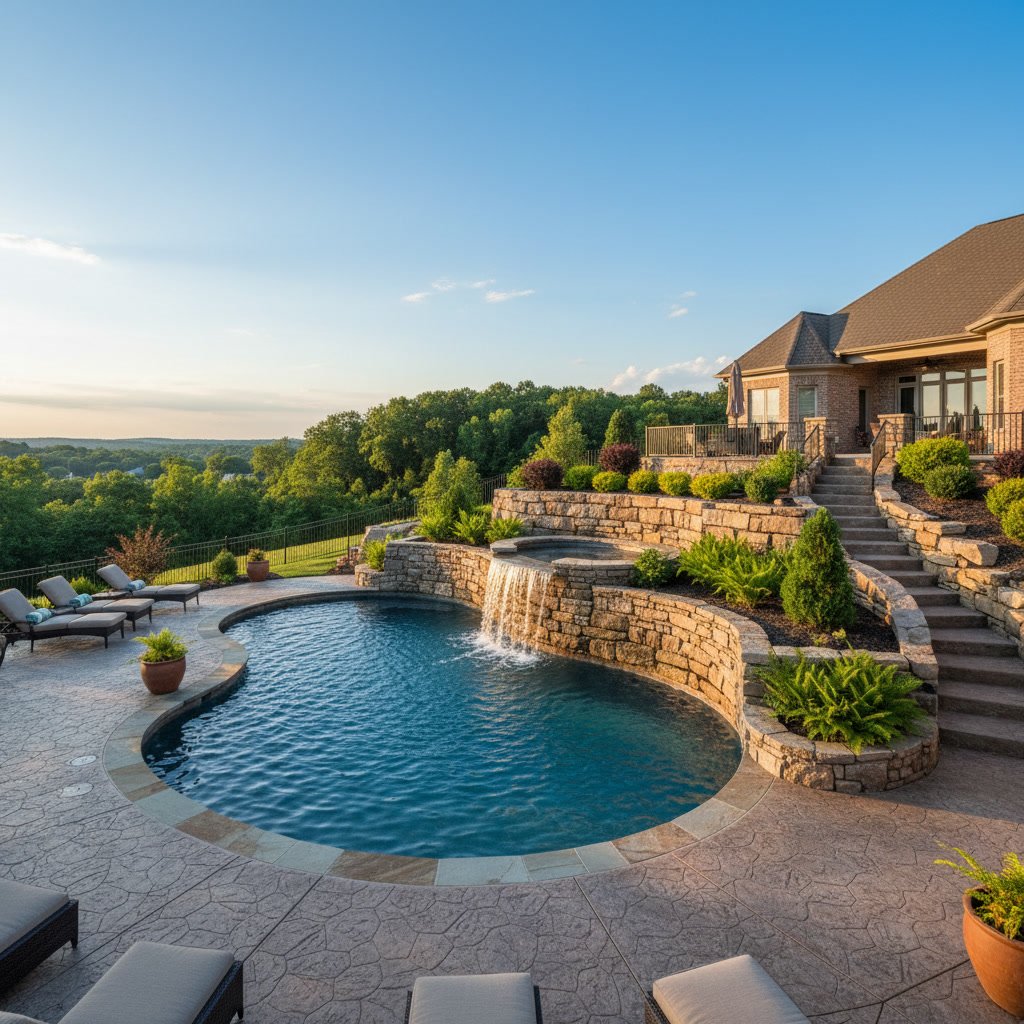
Many homeowners in hilly areas assume a pool is out of reach. In reality, a properly built retaining wall opens up design possibilities that flat yards cannot offer. Elevated pools provide dramatic views, natural privacy screening, and the opportunity to integrate water features that cascade down multiple levels. The key is working with a contractor who understands both structural engineering and pool installation.
How Grading and Drainage Affect Your Pool Design
Before any digging begins, your contractor will evaluate how water moves across your property during heavy rain. Poor drainage can undermine a retaining wall, cause hydrostatic pressure buildup, and lead to structural failure. The goal is to redirect runoff away from the wall and pool area while preventing erosion on adjacent slopes.
Grading adjustments often involve cutting into the hillside and redistributing soil to create the pool footprint. This process determines the height and length of the retaining wall. A yard with a gentle slope might need a three-foot wall, while a steeper grade could require a tiered system with multiple walls stepping down the property. Each scenario changes material requirements, engineering specifications, and overall project cost.
Site Assessment and Engineering Phase
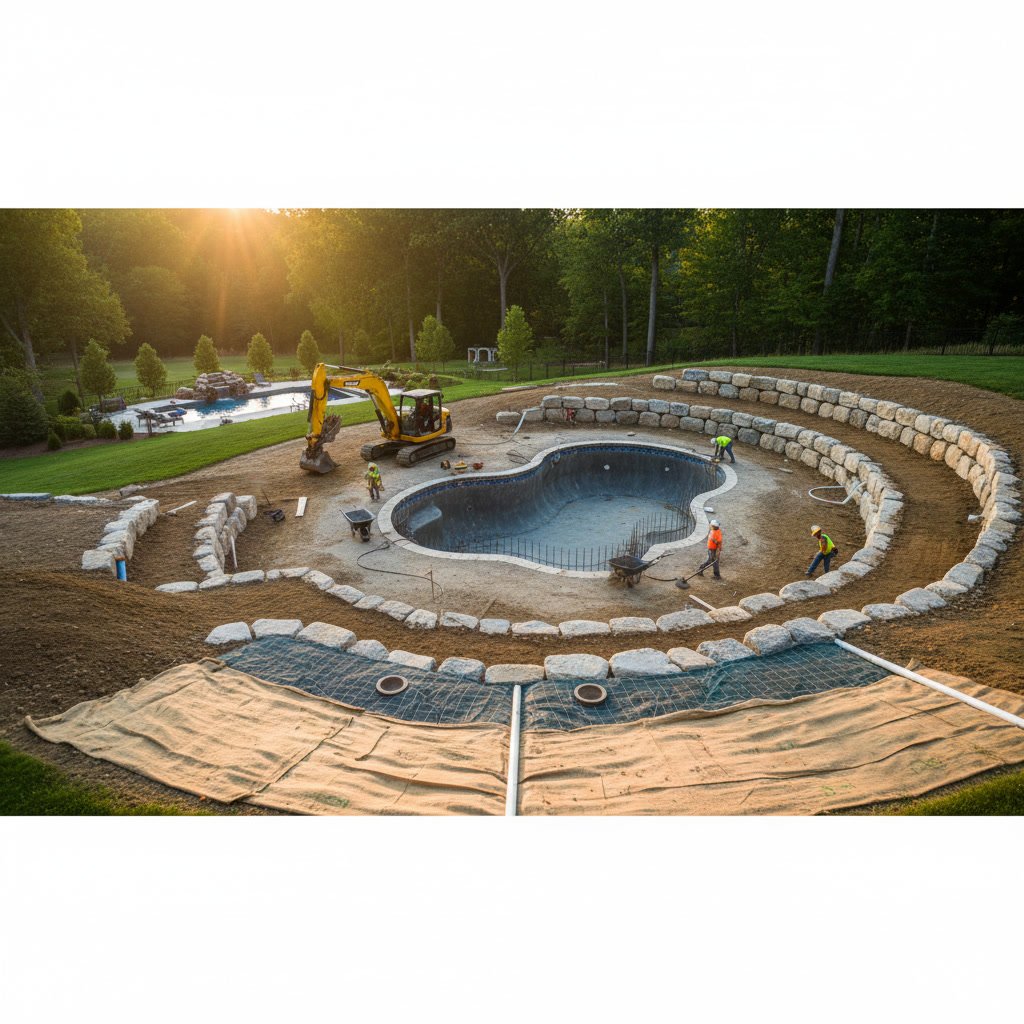
A qualified contractor will start with a topographic survey to map existing elevations and identify underground utilities. Soil testing follows to determine load-bearing capacity and drainage characteristics. Clay soils expand and contract with moisture changes, while sandy soils drain quickly but may lack stability. The test results dictate footing depth, wall reinforcement, and drainage design.
Engineering drawings translate site data into construction plans. These documents specify wall height, batter angle, footing dimensions, and reinforcement details. If your wall exceeds four feet in height, most jurisdictions require a stamped engineer’s approval and building permits. Skipping this step puts your safety and property value at risk.
Excavation and Footing Preparation
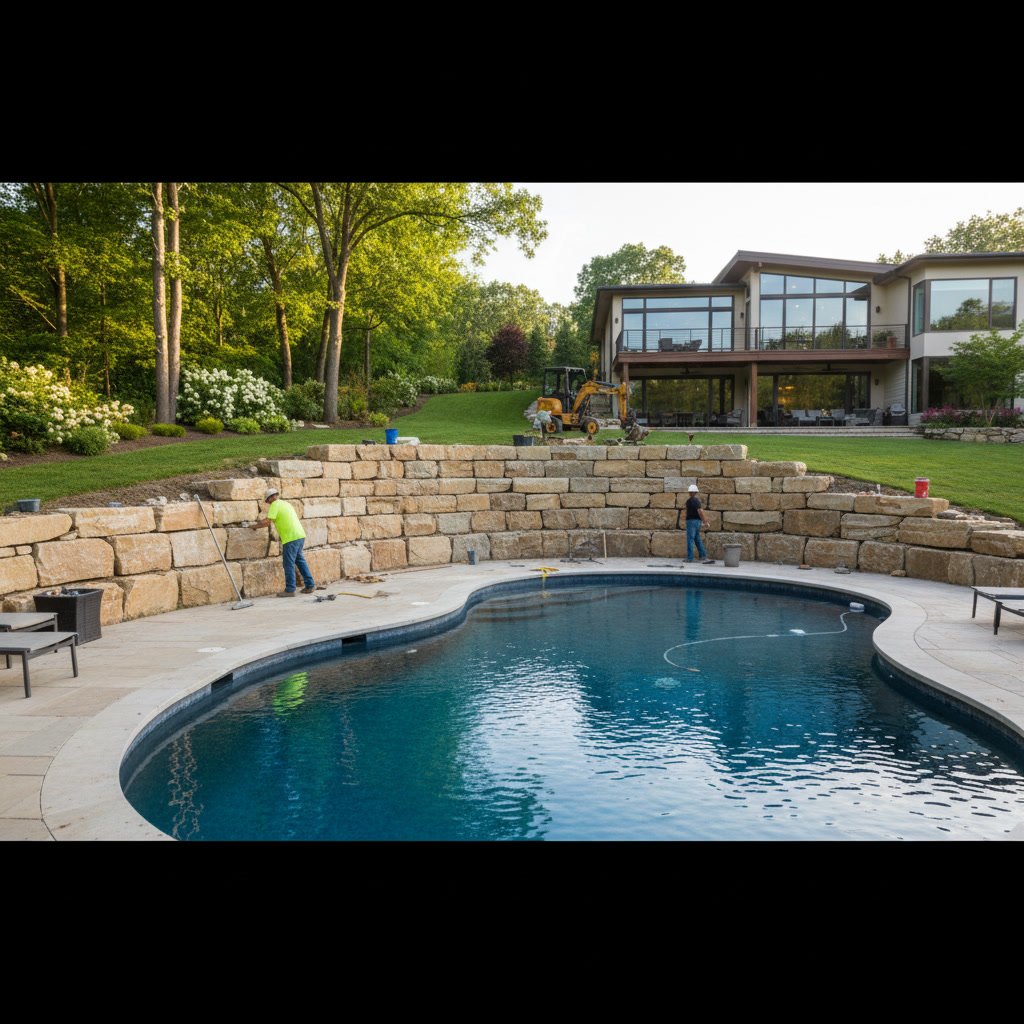
Once permits are in hand, excavation equipment moves onto the site. The crew digs a trench for the wall footing, cutting into the slope to establish the desired grade. Footing depth typically ranges from 12 to 24 inches, depending on frost line requirements and wall height. In the Nashville region, frost penetration is less severe than northern climates, but footings still need to extend below the seasonal freeze depth to prevent heaving.
Compacted gravel forms the base layer inside the trench. This drainage bed allows water to escape rather than build pressure behind the wall. A level footing is critical for wall stability. Even a slight tilt compounds as the wall rises, leading to alignment issues and structural weakness. Professional crews use laser levels and string lines to ensure precision at this stage.
Wall Material Selection and Assembly Methods
Retaining walls for pool projects commonly use concrete block, poured concrete, or natural stone. Each material has distinct advantages. Segmental concrete blocks interlock without mortar, making them faster to install and more forgiving on sites with minor settling. Poured concrete offers maximum strength for tall walls and tight spaces. Natural stone provides timeless aesthetics but requires skilled labor and longer installation time.
For concrete pools and ICF pools, contractors often tie the retaining wall foundation directly into the pool structure. This integrated approach creates a single monolithic system that distributes load more efficiently. The pool shell itself becomes part of the retaining system, reducing material waste and construction time.
Step-by-Step Wall Construction Sequence in Mt. Juliet
The first course of block or stone is set into the footing with construction adhesive or mortar. Each subsequent row is laid with a slight backward lean, called batter, to resist soil pressure. A typical batter ranges from one to two inches per foot of height. This angle also improves visual appeal by giving the wall a sturdy, grounded appearance.
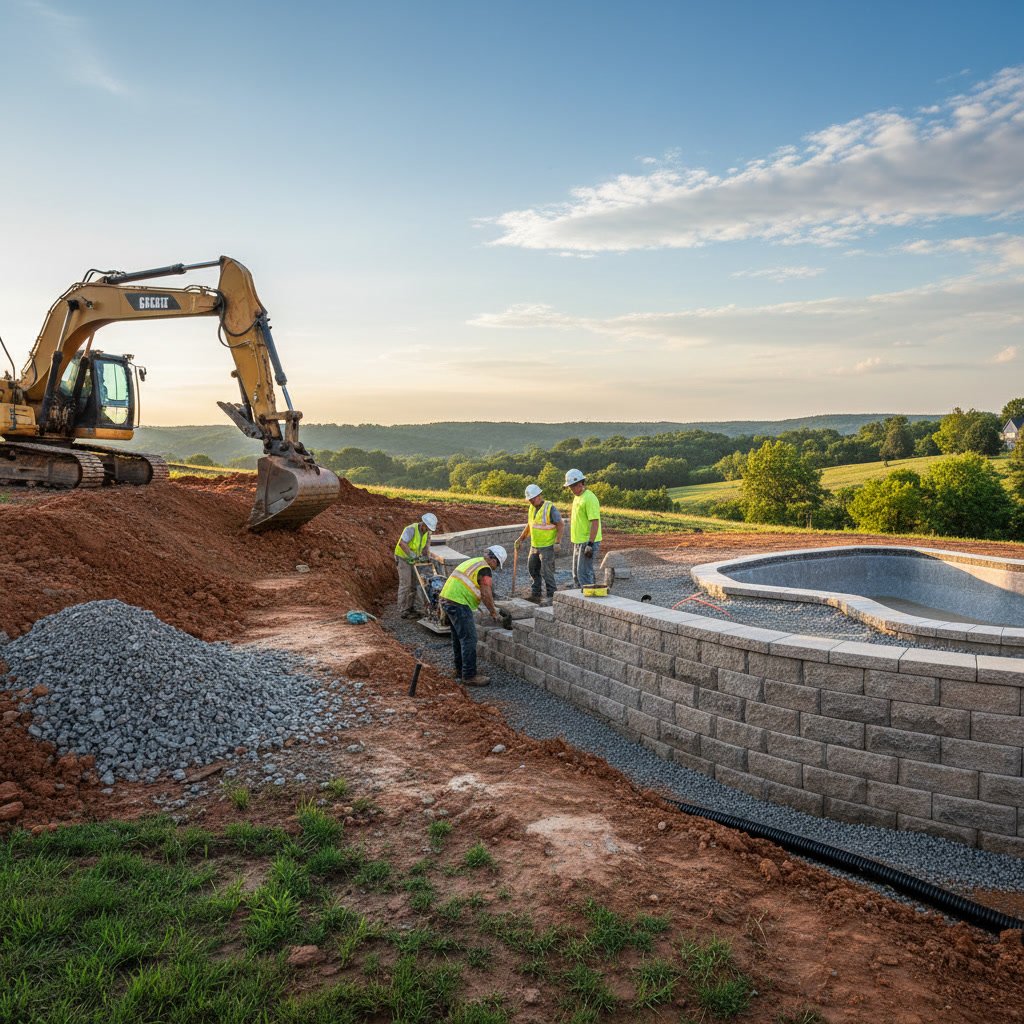
Geogrid reinforcement layers are installed every two to three courses on walls taller than four feet. These fabric sheets extend back into the retained soil, anchoring the wall and distributing lateral load over a wider area. Backfill is added in lifts and compacted with a plate tamper or roller to eliminate voids. Proper compaction prevents future settling that could crack the wall or pool deck.
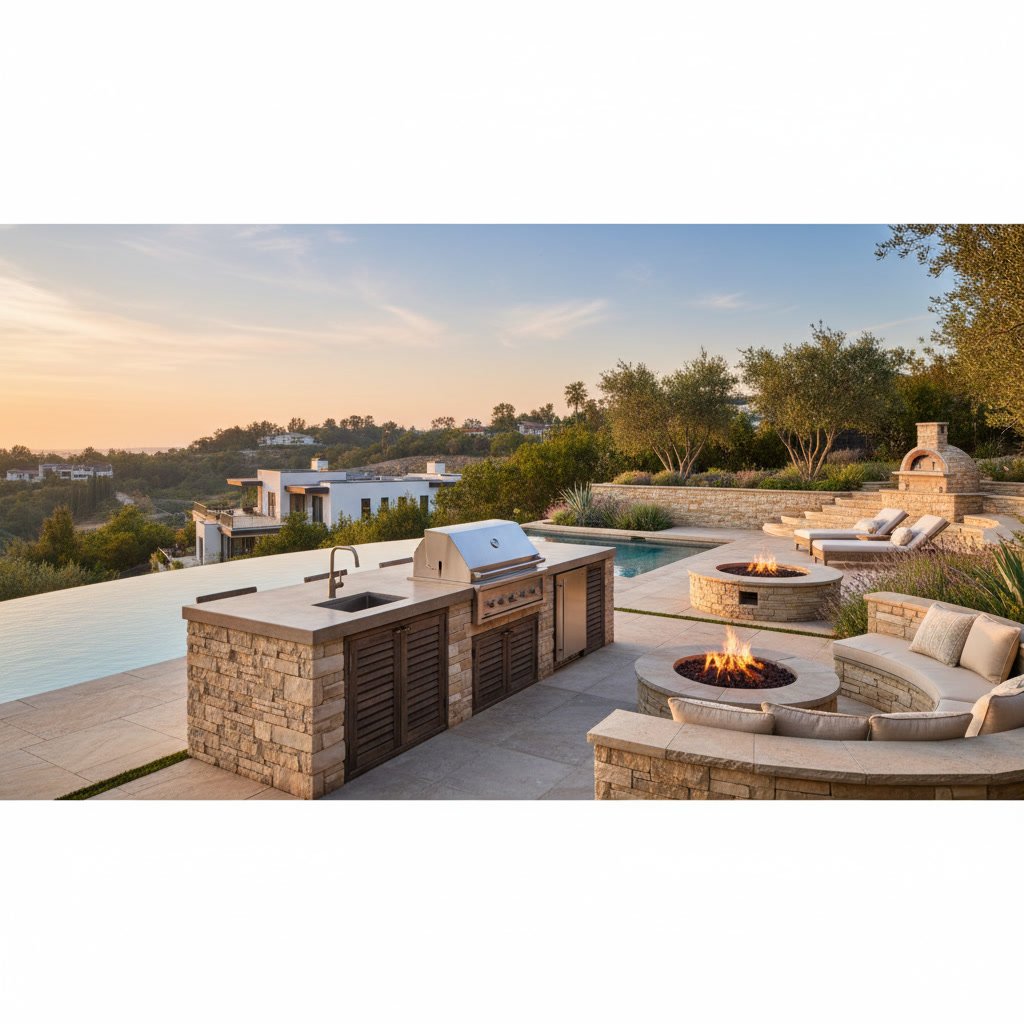
Cap blocks or coping stones finish the top of the wall, providing a clean edge and shedding water away from the joints. For projects that include patios or outdoor kitchens, the wall cap often doubles as a seating surface or serving ledge.
Drainage Systems Behind the Wall
Hydrostatic pressure is the silent enemy of retaining walls. When water saturates the soil behind a wall, it exerts tremendous force that can bow, crack, or topple the structure. To prevent this, contractors install perforated drain pipe at the base of the wall, surrounded by gravel. This pipe collects groundwater and channels it to a safe outlet away from the pool area.
Weep holes or drainage vents are spaced along the wall face to release water trapped between the wall and the soil. These openings are small enough to prevent soil loss but large enough to allow steady drainage. On larger projects, a drainage blanket made of geotextile fabric wraps the gravel backfill, filtering out fine particles while allowing water to flow freely.
Proper drainage extends the life of your retaining wall and prevents water intrusion into the pool excavation. If you’re considering options like fiberglass pools, which are more buoyant and susceptible to groundwater pressure, drainage becomes even more critical.
Backfilling and Compaction
After the wall reaches its final height and drainage components are in place, backfilling begins in earnest. Clean granular fill is preferred because it drains well and compacts uniformly. Clay or organic soils hold moisture and create uneven pressure on the wall. Contractors add fill in six- to eight-inch lifts, compacting each layer before adding the next.
Compaction equipment ranges from hand-operated plate compactors for narrow spaces to ride-on rollers for large areas. Achieving 95% compaction density ensures the soil will not settle significantly after the project is complete. Settlement behind the wall can create voids that allow water to pool and soil to shift, undermining the entire structure.
Integrating the Wall with Hardscape Features
Once the retaining wall is stable, attention turns to connecting it with the broader landscape design. The transition from wall to pool deck must be seamless for both aesthetics and safety. Mortar joints are tooled and cleaned, cap stones are leveled, and any gaps are filled to prevent tripping hazards.
If your project includes multiple outdoor living elements, the retaining wall often serves as a visual anchor. For example, a stone wall can flow into a patio border or support a raised planter that softens the hard edges. Coordinating materials between the wall and other hardscapes creates a cohesive look that feels intentional rather than piecemeal.
Lighting is another layer worth planning during construction. Low-voltage fixtures installed in the wall face or along the cap highlight texture and add nighttime safety. Conduit runs should be embedded during backfilling to avoid cutting through finished surfaces later.
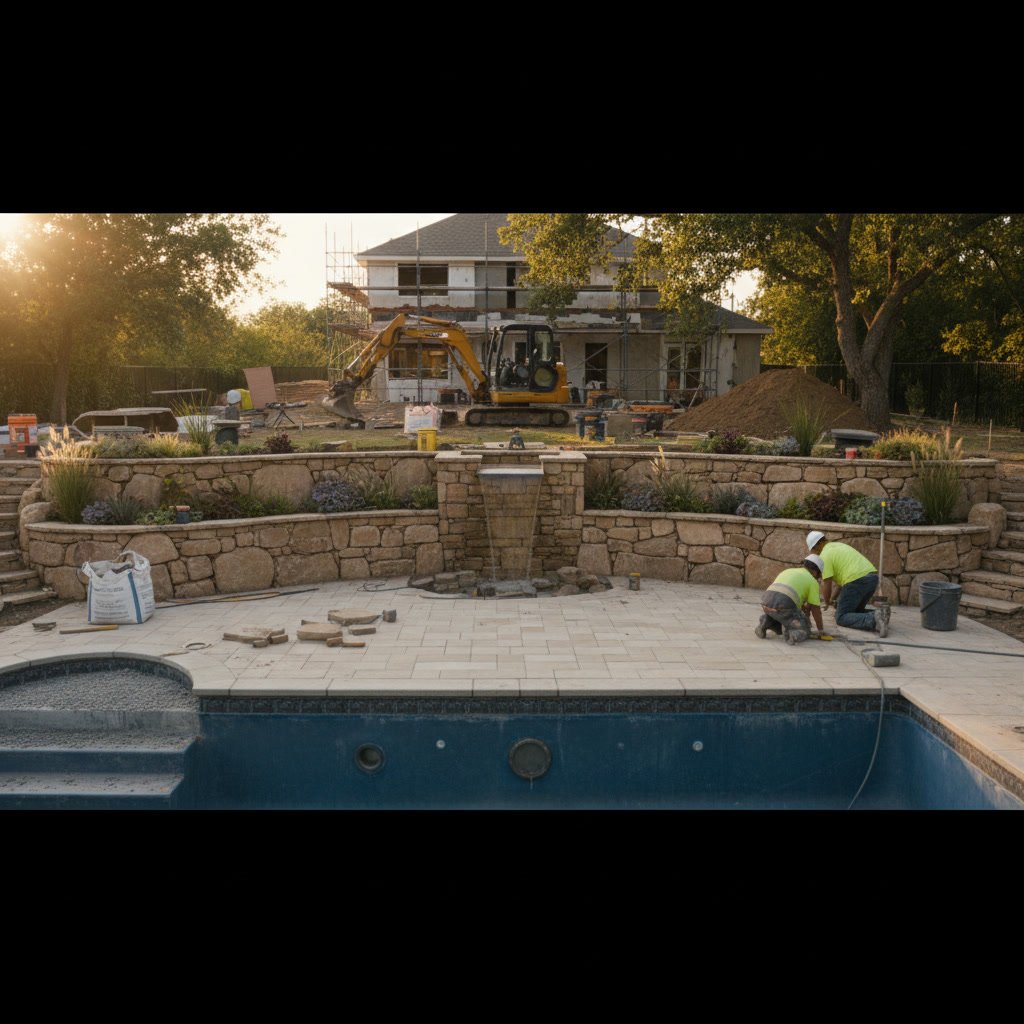
Timeline Expectations for Wall and Pool Construction
Retaining wall construction typically adds one to three weeks to your pool project timeline, depending on wall height, length, and site access. Simple walls under four feet can often be completed in a few days. Complex multi-tiered systems or walls requiring significant grading may take longer. Weather delays are common, since excavation and compaction cannot proceed during heavy rain or frozen ground.
The wall must cure or settle before pool installation begins. Concrete walls need at least seven days to reach sufficient strength. Block walls require backfill compaction time to stabilize. Rushing this phase leads to cracks, shifting, and costly repairs down the road. A contractor with decades of experience, like Backyard Resort Pools INC, understands the importance of patience during these critical milestones and will schedule each phase to avoid shortcuts.
For homeowners wondering how a sloped yard affects pool selection, our guide on the best pool type for a sloped yard covers design options that work well with retaining walls. Material choice also plays a role in long-term durability, as discussed in our article on the best retaining wall materials for sloped Nashville yards.
Ensuring Long-Term Stability and Safety
A retaining wall is only as good as its foundation and drainage. Skimping on either invites failure. Over the years, freeze-thaw cycles, root growth, and soil movement test every joint and connection. Walls built to minimum code standards may hold for a decade, but premium construction with engineered reinforcement and robust drainage lasts 50 years or more.
Regular inspections catch problems early. Look for cracks wider than a quarter inch, bulging sections, or moisture stains on the wall face. These signs indicate drainage issues or structural stress that need professional attention. Addressing them promptly prevents minor repairs from becoming major reconstruction projects.
Quality materials and experienced craftsmanship make all the difference. When you work with a contractor who has been building pools and retaining walls for five decades, you benefit from lessons learned on hundreds of projects. Ernie Nagy oversees every phase of construction, ensuring that engineering details are followed and shortcuts are never taken. That hands-on approach is why Backyard Resort Pools INC has built a reputation for structures that stand the test of time.
If you are ready to explore how a retaining wall can unlock your property’s potential for a custom pool, reach out to discuss your site and vision. Call +16159441612 to schedule an on-site consultation and receive transparent pricing for your project.